Picture Draw

Picture Draw
This activity is similar to “Picture Talk”. If you are are not familiar with Picture Talk, you find out more here:
This is most likely not the newest, most groundbreaking activity that you will come across, but nonetheless, I enjoy doing this activity with my students. I enjoy it, because it is not only super low-prep (and my students enjoy it), but also because it is an excellent way to scaffold support for listening comprehension with students.
In this activity, students are not only supported in their engagement with listening and comprehending the language, but I can also immediately see if they understood the language. Plus, as students engage with the activity, they also get the benefits of benefits of drawing, including focus, and creativity. (Find out more about the benefits of drawing in class here: Drawing a Beneficial Conclusion)
To Start:
Choose a picture, but do NOT show the students.
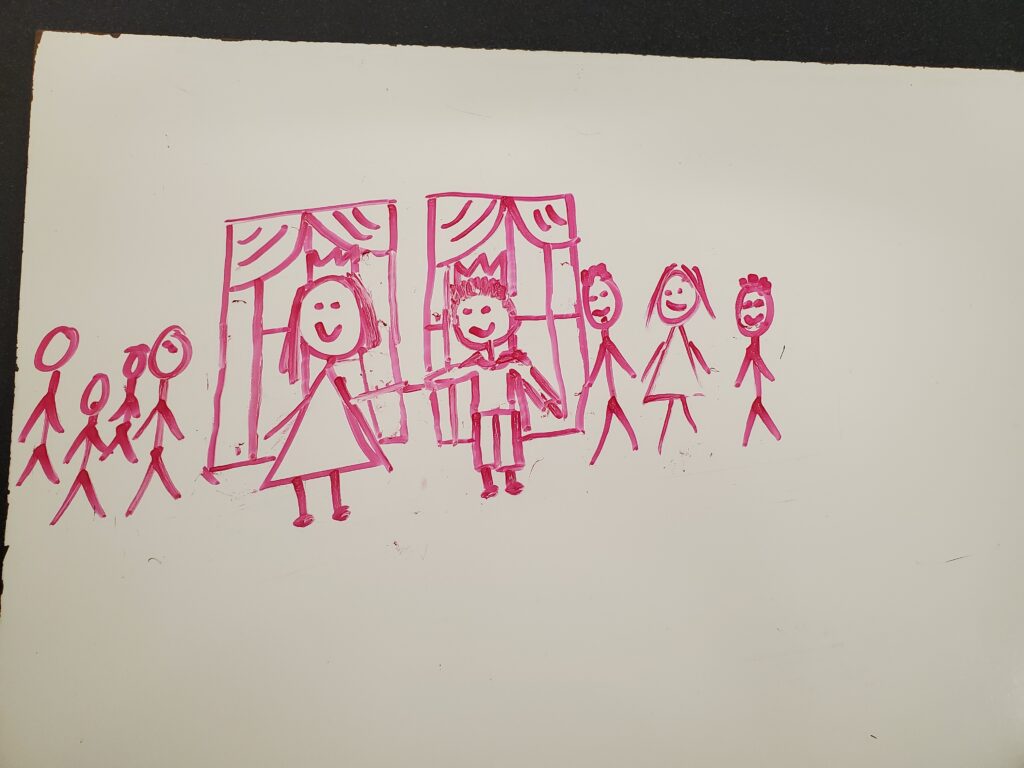
- Note: In this example I used a picture from a story from the Voces Digital German curriculum – “Der Prinz und die Prinzessin – The Prince and the Princess”. (See picture below.)
- You do NOT have to use a picture from a story. However, if you do, it gives you the opportunity to use the reading/story afterwards. After the students have done their drawings and you tell them that it is from a story, there is generally more interest from students to read the story. (Or, if it also has audio, listen to the story.)
In Class:
1. Make sure that students have a whiteboard, marker, and rag/eraser.
2. Then, be sure to established meaning of any unfamiliar vocabulary and/or target structures.
- You can use any means you feel are appropriate and effective for establishing meaning, for example: TPR, PQAs, etc.
3. Tell the students that they will draw a picture on their boards as I describe a picture to them. I also explain to them that I will go slowly, repeat, and stop at intervals to give them time to draw.
- Note: In this case, they did not have multiple colors. However, you can still describe the colors to students even if they can’t use multiple colors; it helps with the “mental image” of the picture.
- You can also do this with crayons and paper, so the students can use multiple colors during the activity.
4. Now, describe the picture to your students! Be sure to stay “inbounds” and use comprehensible language! Don’t forget to go slow, pause and repeat & recycle vocabulary.
5. Before you finish, describe the entire picture one more time, but this time without stopping.
- Note: I told the students to listen to it in its entirety and at the end to finalize any illustrations on their whiteboards.
6. Then, have your had students show you their drawings by holding up their boards. (You can quickly see if they comprehended the language.)
- Plus, students enjoy seeing each others work; most want to share what they drew!
7. Lastly, project the original picture! (The students love this part; there is lots of energy with the “reveal”!)
- Note: To help reinforce the vocabulary and structures, you should describe the picture one more time, while it is projected, and point at the elements as you describe it.
Reflections:
This can be an engaging and enjoyable activity for students. However, I cannot stress enough that it has to be level-appropriate and the students can understand 90%+ of the description as you give it. Also, do not forget to work with the unknown vocabulary and/or target structures beforehand!
With this activity, students really feel a sense of confidence – and this can be a good motivator in the classroom! I also feel that students get a lot out of doing this activity. Yes, they enjoy the drawing part of it, but you’ll notice that as they draw they tend to focus on listening and comprehending the description; they want to draw a good (accurate) picture! Plus, as you go back and repeat/recycle, the students get a lot of exposure and repetition of the vocabulary and target structures. This truly is an effective and beneficial activity for students.
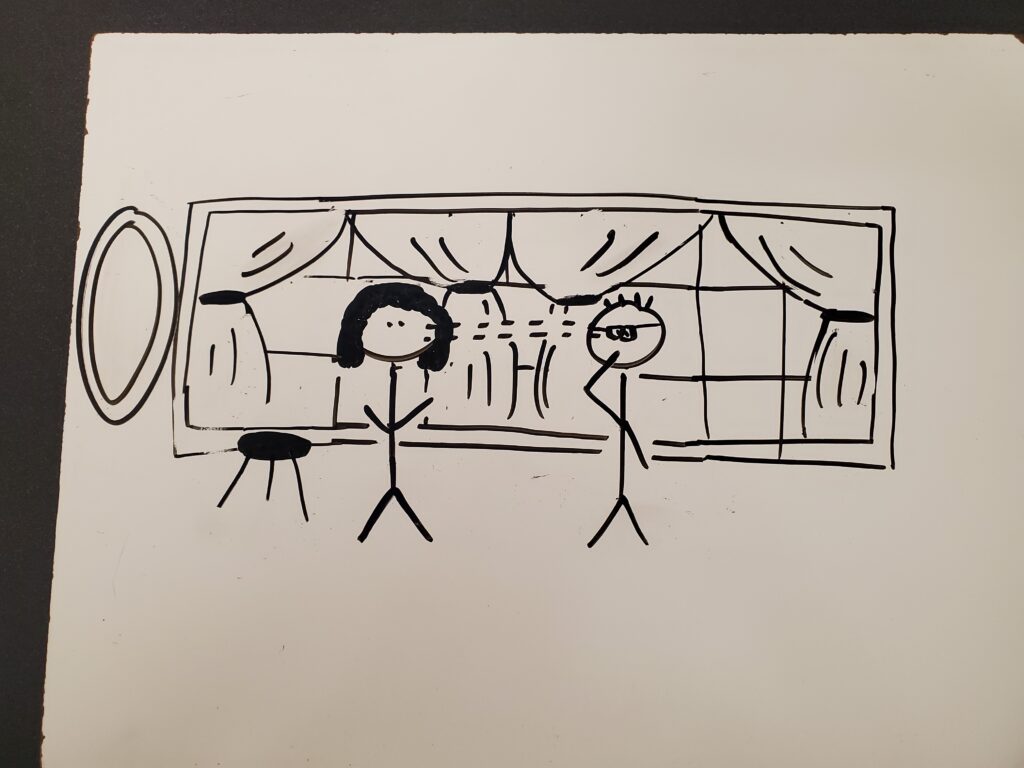
Note: Below are the original picture and pictures from my students.

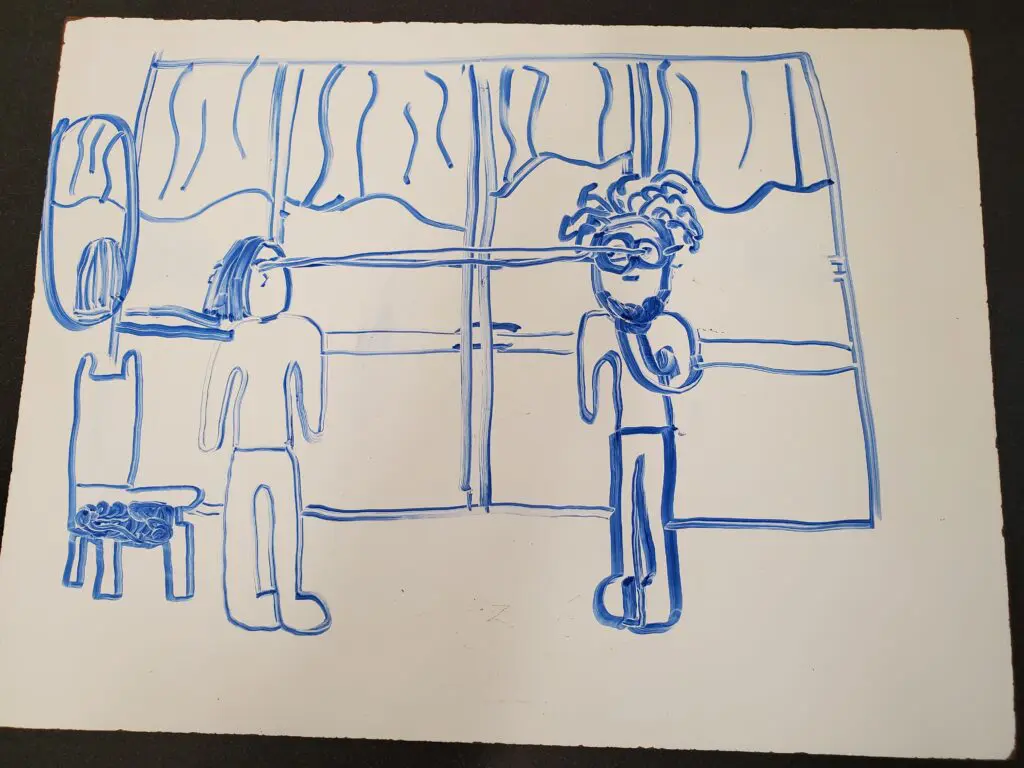

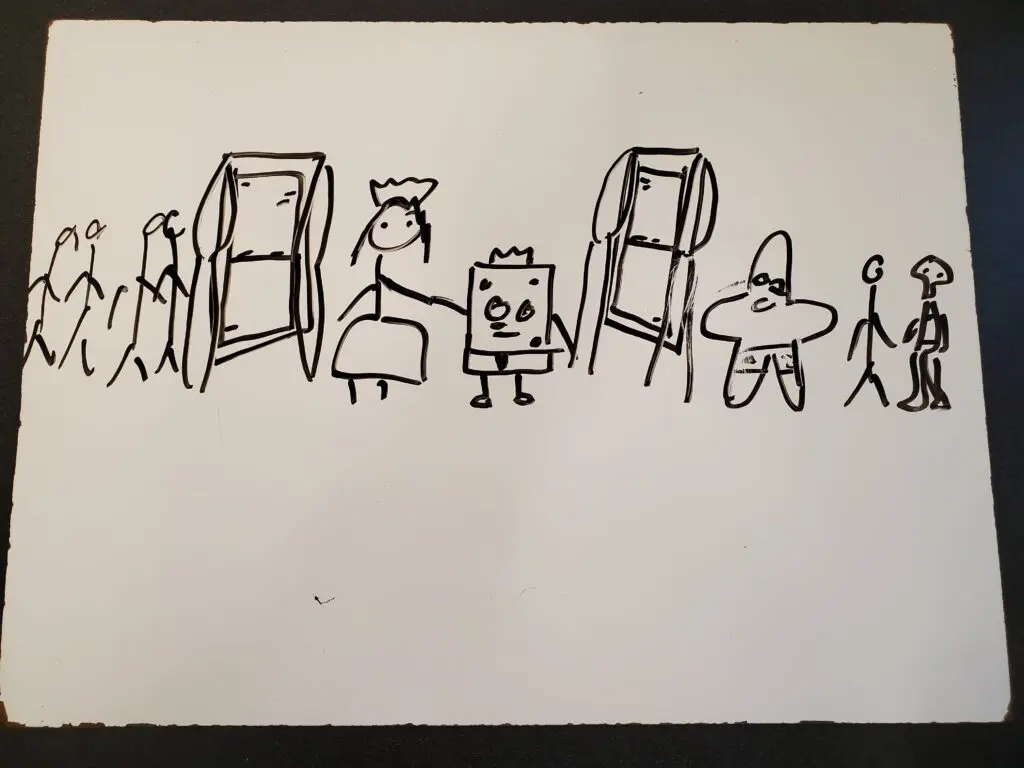
Note: In the second picture, the student chose to also incorporate their own creativity and imagination! Did you notice the Sponge Bob characters? (Sponge Bob and Patrick Star)